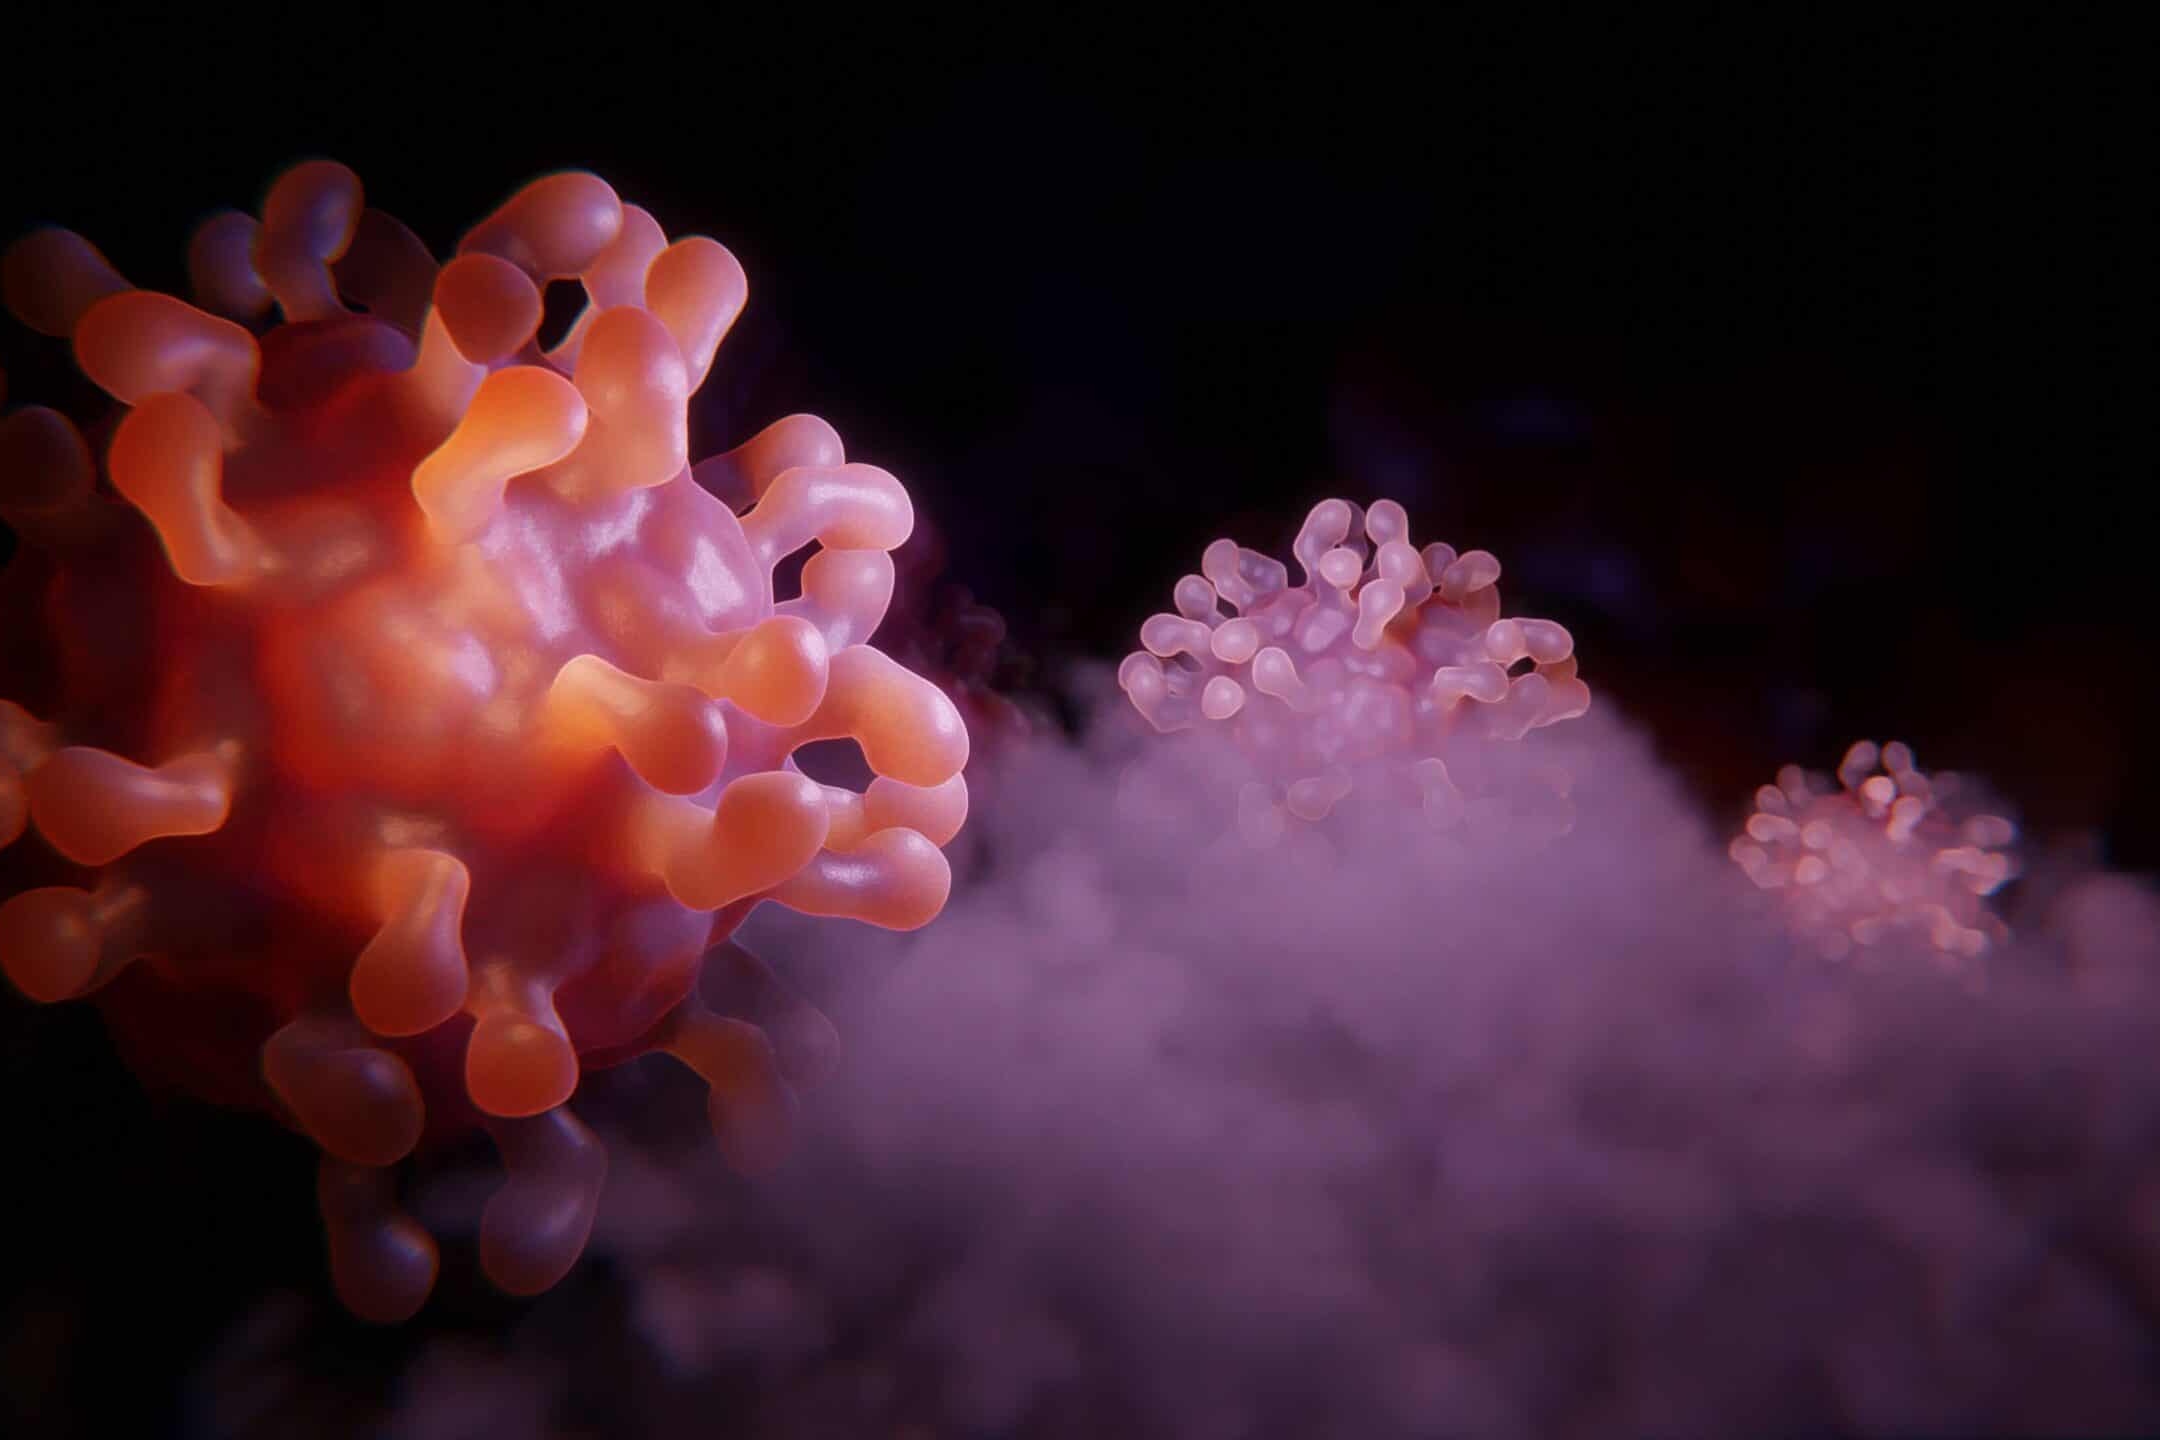
Medical animation videos are a powerful tool for educating patients, showcasing medical procedures and devices, and explaining complex medical concepts. In this blog post, we will take a look at the steps involved in making a medical animation video, from start to finish.
Step 1: Define the Objectives of the Video
Before you begin making your medical animation video, you need to have a clear understanding of what you want to achieve with the video. What is the message you want to convey? Who is the target audience? What are the key points you want to highlight? Having a clear understanding of the objectives of your video will help guide the creative process and ensure that the final product is effective and engaging.
Step 2: Conduct Research
Once you have a clear understanding of what you want to achieve with your video, it’s time to start researching. You need to gather information on the medical subject you want to cover, the audience you want to reach, and any relevant medical regulations. This will help you ensure that the information you present in the video is accurate and up-to-date.
Step 3: Create a Storyboard
A storyboard is a visual representation of the scenes and sequences in your video. It is a crucial step in the animation process as it allows you to plan out the structure of your video and ensure that you have included all of the important elements. You can create a storyboard using a simple sketch, a flowchart, or a more sophisticated software program.
Step 4: Choose an Animation Style
There are many different animation styles to choose from when making a medical animation video. Some of the most popular styles include 2D, 3D, stop-motion, and motion graphics. The style you choose will depend on your budget, the complexity of the subject matter, and the target audience.
Step 5: Create the Animations
Once you have your storyboard and animation style in place, it’s time to start creating the animations. You can do this using specialized software, such as Autodesk Maya or Blender, or you can work with a professional animation studio. The key is to ensure that the animations are accurate, engaging, and visually appealing.
Step 6: Add Sound and Music
Sound and music play an important role in medical animation videos. They can help to set the tone, convey emotions, and provide a background for the visuals. When choosing sound effects and music, make sure they are appropriate for the subject matter and target audience.
Step 7: Finalize and Edit
Once you have all of the elements of your video in place, it’s time to finalize and edit the video. This is when you will add any final touches, make any necessary adjustments, and ensure that the video flows smoothly from start to finish.
Step 8: Publish and Share
Finally, once your medical animation video is complete, it’s time to publish and share it with the world. You can do this by uploading the video to a platform such as YouTube or Vimeo, embedding it on your website, or sharing it on social media. Some of these animations can be found at Delatite Dental – The Premier Dental Clinic in Mansfield Victoria
In conclusion, creating a medical animation video can be a complex process, but with careful planning, research, and attention to detail, you can create a high-quality video that is both educational and engaging.


